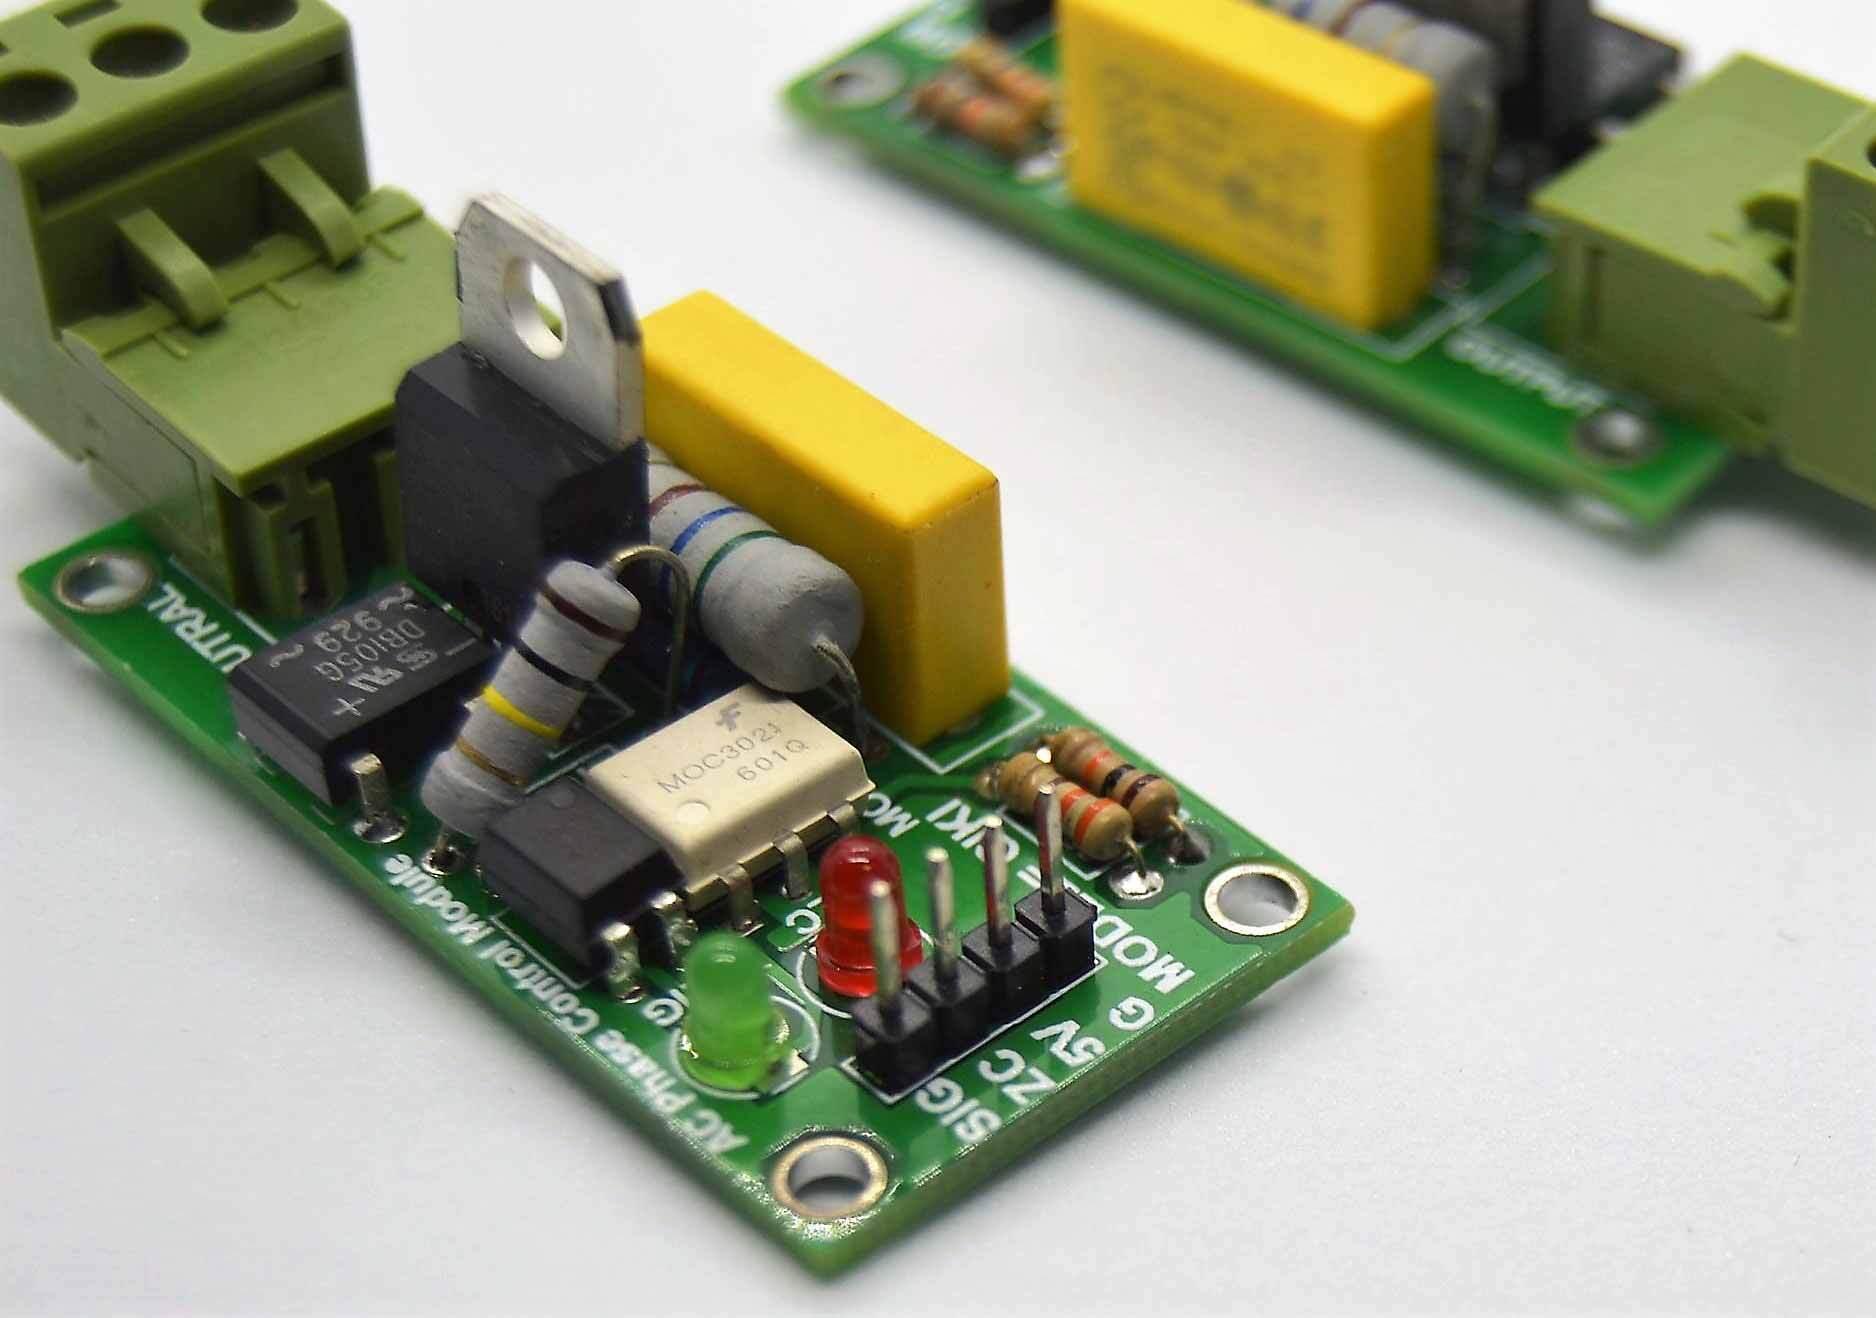


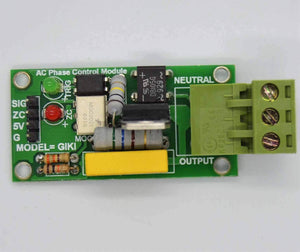

Discontinued 2amp 220v Ac Arduino 1 Channel Triac Module With Zero Crossing Sensor
This is 1 Channel Triac Module Module which gives you the ability to make Arduino Ac Dimmer or Arduino ac phase angel controller or it can control AC related applications with your Arduino, Raspberry Pi, PIC or Any other 5v microcontroller.
Features and Specifications:
- Model = GIKI
- Comprises with MOC3021 Zero Cross Phototriac Driver optocoupler and BT16 Triac
- Simplifies Logic Control of 115/240 Vac Power
- Zero Voltage Crossing Signal
Applications:
- Solenoid/Valve Controls
- Temperature Controls
- Lighting Controls
- E.M. Contactors
- Static Power Switches
- AC Motor Starters
- AC Motor Drives
- Solid State Relays
Package Includes:
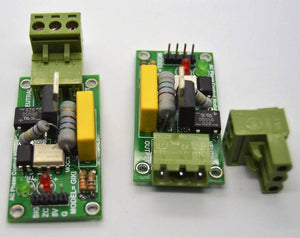
- 1x Triac Module
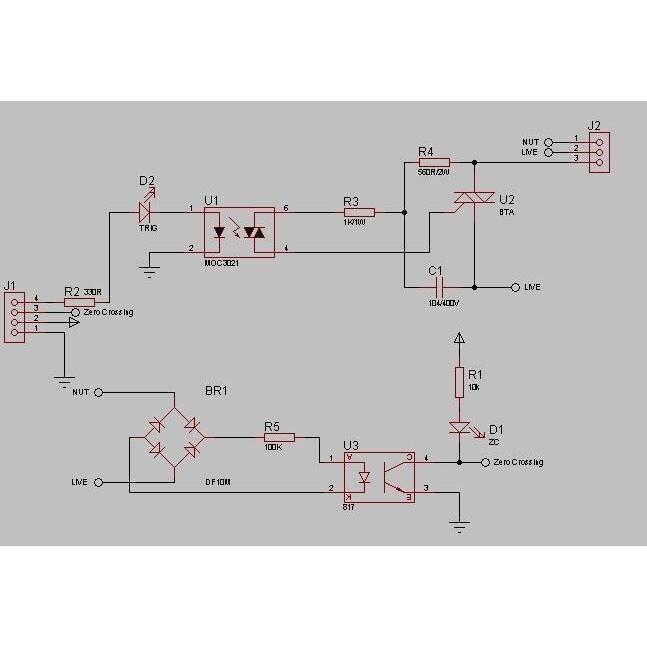
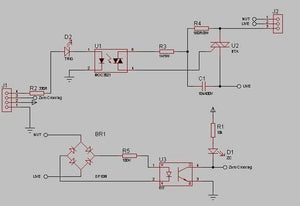
Here is a diagram of this module.